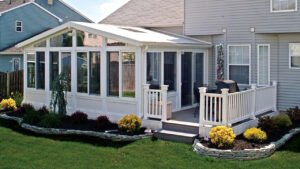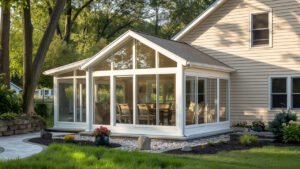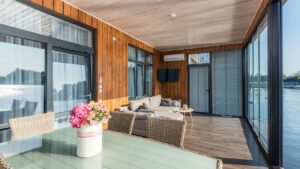
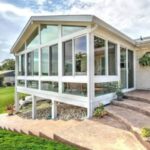
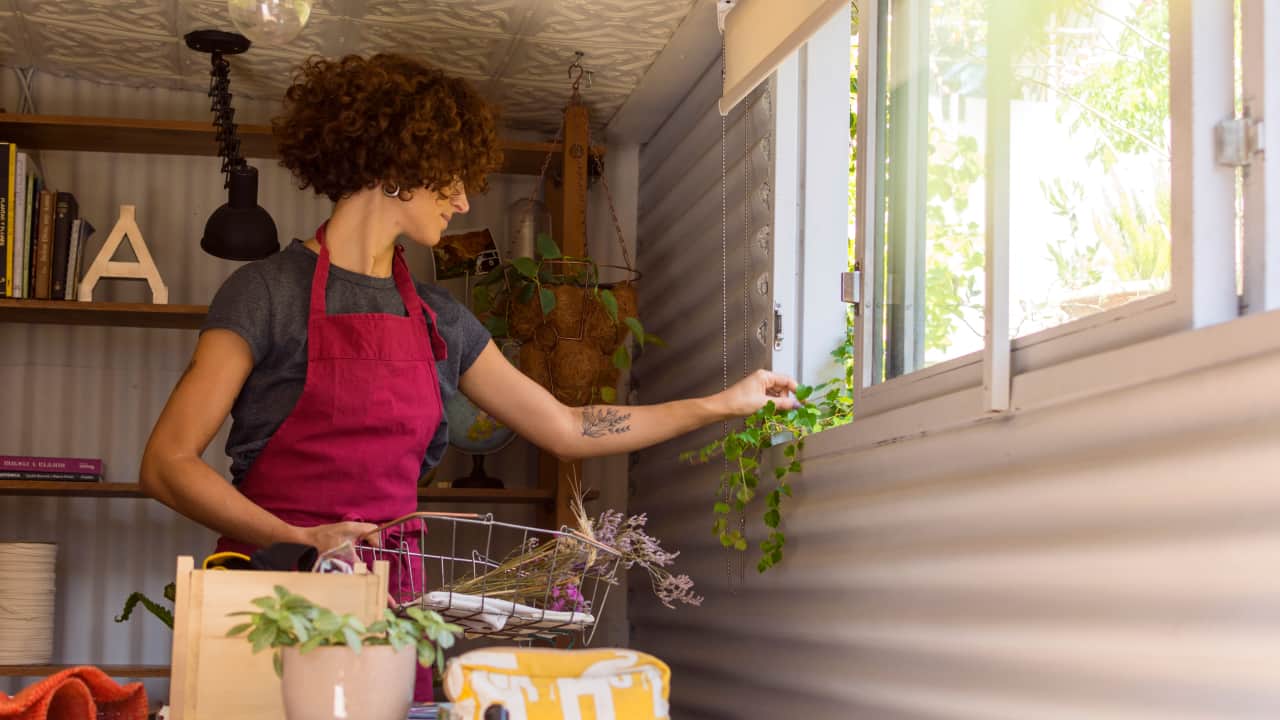
Without even stepping out from the comfort of our home, who wouldn’t love a sunlit sanctuary, where one can relax? A DIY sunroom does that for you by offering you the perfect balance, along with a cozy retreat filled with natural light. It is perfect for sipping your morning coffee or nurturing your baby plants.
You know the best part? You can make this dream of yours a reality, and we’ll make you walk through everything you need to know in creating a stunning self-built solarium that perfectly suits your lifestyle.
Why Build Your Own Glass Room?

Building a solarium for yourself is a fantastic idea that shows numerous reasons, such as:
- Cost-Effective: An upwards of $25,000, it may cost when you opt for professional installation in your sunroom. Hence, taking the route of the DIY route, you can save thousands of dollars.
- Customized Design: If you want a sleek modem look or something with a boho vibe. Then, you can have an open choice in customizing your own style or design by having control over the layout, design, and materials, reflecting your thing.
- Increased Home Value: A sun lounge designed fully can have a significant impact in terms of increasing the value of your property, while offering a distinct selling point.
- Health Benefits: The exposure to natural light will be a booster for your mood, improving your sleep, plus gives you an adequate amount of Vitamin D, even when it’s chill-cold outside.
Planning Your Do-It-Yourself Sunroom

Successful projects start with good planning. Here’s what to consider:
1. Budget Considerations
Sunroom ideas DIY, on average, can cost between $100 to $350 per square foot. It solely depends on the materials used and the size. The prefabricated kits seem to be budget-friendly, while additional tools and resources are required for custom building. The things that you may require to stay on budget:
- Look over the comparison between the online and local hardware stores.
- Salvaged wood or windows are the options in the category of reused materials, for a rustic touch.
Related Pick: Sunroom Decorating Ideas: The 11 Best Ways
2. Permits and Regulations
You’ll likely need a building permit to ensure your project meets local safety codes. Contact your local zoning office to:
- Confirm size and structure requirements.
- Avoid future fines or legal complications.
- Learn about inspection processes for final approval.
3. Design Inspiration
Get creative! Browse platforms like Pinterest or visit websites for inspiration. Some popular solarium styles include:
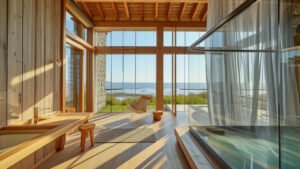
- Having an insulated four-season glass room is all you need.
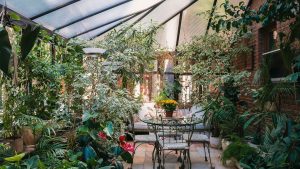
- For a lush indoor garden vibe, feature glass walls and ceilings to achieve that.
- Without the bugs, ideal for your breezy summer afternoons, it’s the screened-in porches work well for you.
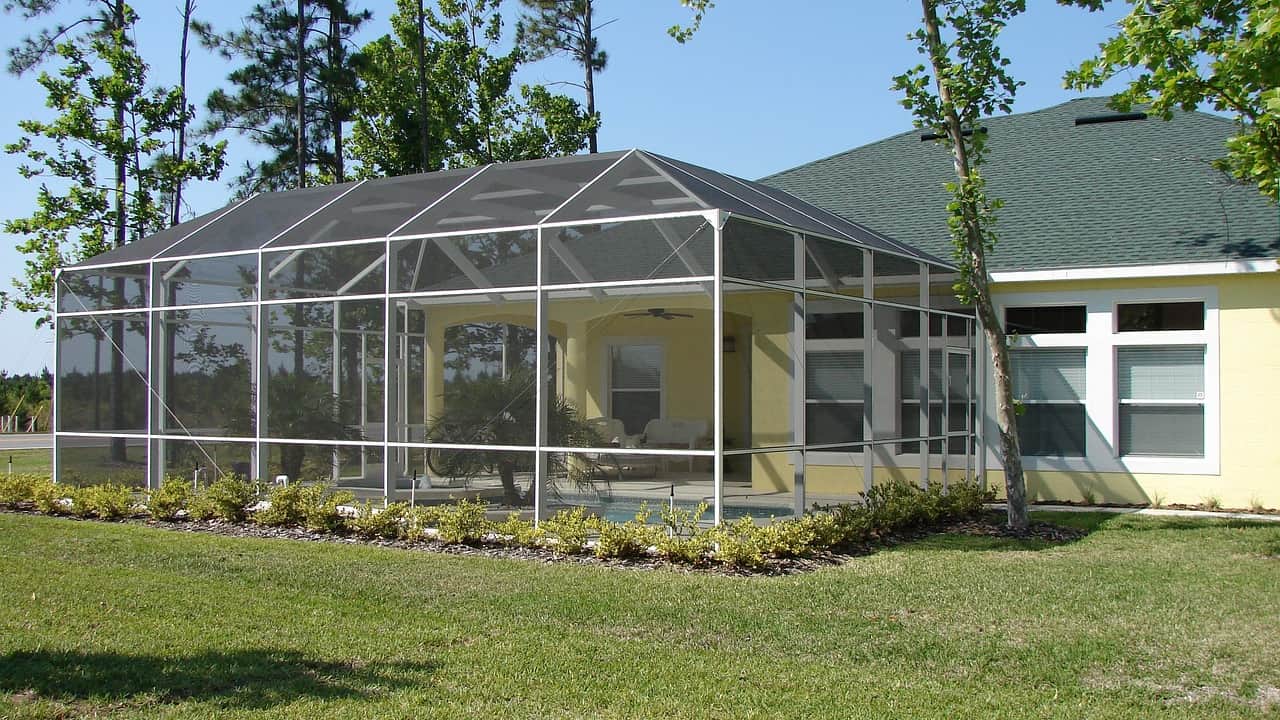
Types of Patio Room
Before picking up a hammer, decide on the type of patio rooms that best fits your needs and skill level.
1. Prefabricated vs. Custom-Built Sunrooms

Prefabricated Kits
These come with pre-cut materials and assembly instructions, making them ideal for beginners.
Companies offer various DIY sunroom kits for different budgets and skill levels.
Custom DIY Sunrooms
Perfect for those who want full creative control.
However, custom builds require advanced skills, precise measurements, and patience.
2. Seasonal vs. Year-Round Sun Lounge
Seasonal Sunrooms
Typically built with lightweight materials and single-pane glass to feel the beauty of outside environment.
These are more affordable and great for spring through fall.
Year-Round Sunrooms
Year-round solariums include insulation and double-pane windows in them to tackle all the different weathers.
Heating and cooling systems are often installed for comfort in all seasons.
Construction Process

The construction process involved is quiet sophisticated and fun if you love sunrooms. There are some crucial steps for a DIY sunroom, such as;
Step 1. Framing and Structural Requirements
The main necessities required for a secure and long-lasting sunroom are two things. One is a solid foundation, and the other is the framing. Here’s how to get started:
- Foundation: The foundation should have concrete slabs or wooden decks, which work well for that purpose. Before getting into constructing, ensure that the surface is level.
- Frame Materials: Choose the materials of the frame wisely. You should make a choice in materials between aluminum (they are lightweight and weather-resistant), wood (it has a classic aesthetic), or vinyl (it has low maintenance).
Step 2. Installing Windows
Windows let in natural light and help define the space.
- Select Energy-Efficient Windows: Use energy-efficient windows having UV protection. Because they will help in reducing the heat loss in the winter season and overheating in hot weather.
- Frame the Openings: Make sure the frames are leveled and square. Keep them secured tightly in their place, and for waterproofing, use caulk.
Step 3. Install the Roof
Installing the roof will keep you safe from harsh weather and temperature changes inside the glass room.
- Choose Roofing Material: For the roofing, consider polycarbonate panels for a lightweight, transparent option for better insulation.
- Install Roof Beams: Installing the roof beams on the top of your frames is a thoughtful idea, as they seem to be a more secure option.
- Add Roof Panels or Shingles: The easiest yet giving great light are the polycarbonate panels, which you can install. However, the shingles will be a better way for insulation purposes.
Step 4. Insulation and Weatherproofing
Throughout the year, insulation is something that keeps it going in terms of your sunroom’s comfort.
- Add Insulation: Foam boards or fiberglass batts must be considered for your ceilings and walls.
- Seal Gaps: You must be using high-end caulk sealing around your doors and windows, preventing them from drafts and water leaks.
DIY Challenges and Tips
The following are some of the main challenges you can face while constructing a glass room, and solutions for addressing those challenges:
| Challenges | Solutions |
| Accurate measurements for materials | Triple-check all dimensions before cutting |
| Weatherproofing the room | Use high-quality sealants around windows and roof panels. |
| Working alone | Recruit a friend or family member for extra help. |
| Budget Overruns | A good rule of thumb is to set your budget, which may unexpectedly reach up to 10 to 15% of your total budget. |
| Dealing with Unforeseen Weather Conditions | If working in regions where there are significant weather changes, then try completing the tasks in the summer months or plan the indoor tasks during the cold season. |
Costs and Budgeting

Although the DIY approach is budget-friendly, it’s still important to track your expenses. You should keep a record of the budget that you have set. Revisit it regularly as the prices of building materials may fluctuate. Below is a breakdown of average costs:
- Foundation: $1,500 – $6,500
- Insulation: $550 – $1,550
- Roof: $4,000 – $9,000
- Windows and Doors: $4,000 – $15,500
- Electricity: $450 – $2,000
- HVAC: $2,500 – $21,000
- Interior Finishing: $300 – $10,000
- Site Cleanup: $350 – $550
Finishing Touches
Once your glass room’s structure is complete, now it’s time to add the charm by:
Furniture and Decor
The lanterns or string lights are a good option for creating an inviting and warm atmosphere. Do consider an adjustable LED fixture for the functionality, in case your garden room doubles as a workspace. Focus on a cozy and modern interior decor of your sunroom that must give a classy vibe.
Lighting
The lanterns or string lights are a good option for creating an inviting and warm atmosphere. Do consider an adjustable LED fixture for the functionality, in case your garden room doubles as a workspace.
Flooring Options
For sunroom flooring options, you may use durable and easy-to-clean tiles. Have some beautiful carpets which add warmth and coziness, ideal for four-season solariums.
Maintenance Tips for Your DIY Sunroom
A sun lounge building makes it half of your job only, but keeping it in its well-maintained and top shape is what makes it last longer for years. And for that, you have to regularly be vigilant in checking if any cracks are found in the glass or gaps in the sealant. Thus, to prevent water leaks and drafts.
After every few months, you should be cleaning the windows and frames in order to avoid the buildup of dust. If you have wooden-framed windows installed in your sunroom, then you must be treating them with water-resistant coating on an annual basis to prevent them from warping or rotten out.
And also, you need to keep an inspection of the roof after a rainstorm or hailstorm, so that you may catch the early signs of wear, if any.
Common Mistakes to Avoid
Many beginners(builders) just rush into building the project without double-checking the permits or measurements. This might lead to costly fixes in the long run. It is recommended to avoid materials having low quality just for the sake of cutting costs. As they may need replacement sooner, and end up with even higher costs later.
You Might Like to Read: 2025 Sunroom Pricing Guide
Another common oversight you may see is skipping the insulation system properly. This happens especially when you plan to use the solarium on a year-round basis. Lastly, try not to ignore the ventilation thing because without ventilation, your classroom will be uncomfortable in extreme hot weather, whereas damp in the winter season.
Conclusion
A DIY sunroom is never an easy task, but with careful planning, a bit of grit and grind, and help from authentic online resources, you can transform your home into this light-filled haven. So, grab your toolbox, channel your inner builder, and let the sunshine in!
You Might Like to Read: Creative Sunroom Additions to Upgrade Your Living Space